Making Plarn
Over the last few years we have become increasingly aware of our impact on the environment. As a family our shopping and life choices have changed considerably. We were really proud of what we had achieved over the last two or three years but then COVID struck. Our shopping for plastic free vegetables, or other environmentally friendly choices, was stopped in its tracks. We were lucky enough to get a delivery slot early on during lockdown for which I am BEYOND grateful. But the plastic bags that normally get taken back were not taken back. Instead they piled up in our utility room.
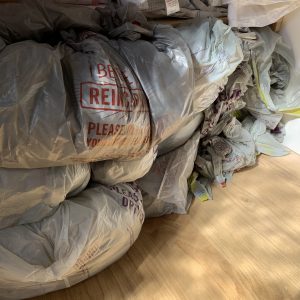
Our local shop does not need them, as they encourage people to bring their own. Nobody needs or wants them in case of virus transmission. Somebody suggested I throw them away, but after several years of trying to reduce our plastic waste, this galled me. Instead I decided that making plarn was my only option.
I last did this about eight years ago when I was a teacher in a special needs school. We had year nine for a whole day and the theme was recycling. I spent several evenings making plarn so I could spend the day teaching 13 year old lads with behaviour issues how to knit. It was surprisingly successful.
What is Plarn?
Plarn is basically yarn made from plastic bags – plarn. It can be used to knit/crochet/weave pretty much anything you would use actual yarn for.
How do you make it?
Well, making plarn is super easy. If you google it, there are many ways to make it. This is the way I find the easiest.
Time needed: 30 minutes.
Making Plarn
- Gather your supplies
You will need
* plastic carrier bags
* scissors/rotary cutter
* large ruler (optional)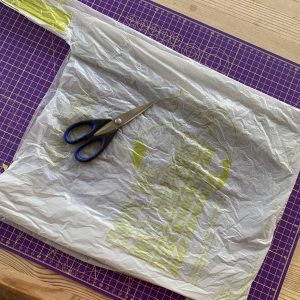
- Prepare the bag
Lay the bag flat, making sure that the sides are folded in and the handles are not inside. Smooth the bag as much as possible.
- Trim the bag
Cut the handles from the top and cut a straight line across the bottom so the bag now has two straight, open sides.
TOP TIP: Make sure your scissors are super sharp. Mine weren’t and soon became very annoying which is why I switched to my rotary cutter.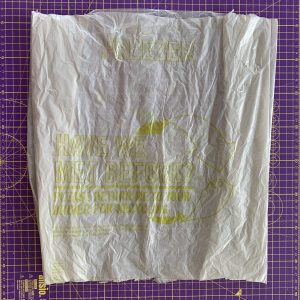
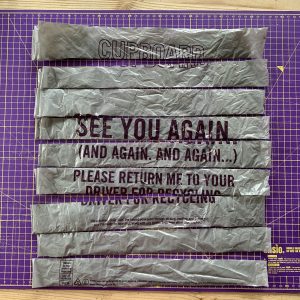
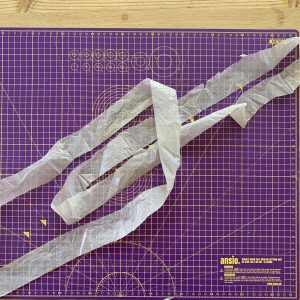
- Cut the plarn strips
You can cut the plarn strips as thin or as wide as you want. I wouldn’t recommend going any thinner than 1cm as the plarn may snap easily. Any wider than 5cm and it becomes difficult to knit or crochet with. I cut mine 4cm wide using my cutting mat as a guide. If hadn’t had my cutting mat to hand I would have just done it by eye. Let’s be honest, you’re making yarn out of plastic bags. It really doesn’t matter if they’re not exactly the same width.
- Join plarn strips.
Open one yarn strip so that you have a loop. Place a second yarn strip through the loop and thread back through itself to tie a knot. Pull the knot tight (but not too tight or you’ll snap the plarn!). Repeat until you are done.
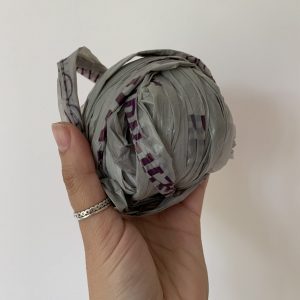
- Wind into a ball
This step is entirely optional, but I suggest you do it so that you don’t end up in a big plarny tangle. One carrier bag gave me just under 5m of plarn, so it soon mounts up.
- Use your plarn to make something
Use your lovely new plarn to make something new.
I have about so many ideas of things to make with my new plarn. I have my first project planned already, but if you want some inspiration take a look here. If you have a go at making plarn, I would love to know how you get on.

Sunburst Granny Blanket
